Showing posts with label canvas. Show all posts

Wednesday

The Cheerleader

 Do you have a cheerleader?


Do you sometimes float along in life and forget that you need one?


Yesterday mine got me through a major funk.  I was disorganized, overwhelmed and stuck.

And just like she always does, my cheerleader said all of those magic things.


You know, those things that you KNOW in your heart and your head, but wow, does it ever make a difference to hear it from someone else?


When the doubt creeps in.  That's when you need your cheerleader.

I really hope you have one.

If you don't, send me an email.  I'll do my best to fill her cheerleader shoes for you.

Thursday

No-Sew Window Treatments (Tutorial)

The guest room that doubles as the play room is a decorating conundrum (don'tcha love that word?).  On a typical day (as in: no guests are coming) if you can manage to walk through without the pain of stepping on a Lego, then you WIN.  I wanted to update the window treatments for the room, but let's face it - it's the home to toys for three boys - no designer fabrics required.  So here's what I did:

I started with a 12" x 15" canvas drop cloth.  The package said that the actual measurements were 11" 9" x 14" 9" (hmmmm?)  Anyway, I washed, dried and ironed it and then remeasured to find their exact size.


Based on my window measurements, I wanted the canvas to hang 94", not including the rod and rings.  I cut it at 95" to allow a 1" seam (the drop cloth was hemmed all the way around, so that was one less hem I had to do on the top or bottom of each).  I decided on 3 curtains as the room has 2 windows side by side.

In the photo below the "bottom" of the curtain has already been cut to 95".  You can see I took the measurements of the entire width and divided the it into 1/3's and allowed an additional inch for the center curtain since it wouldn't be hemmed on either side. (remember, the outer 2 pieces already had one hem).  By doubling the fabric and measuring that distance in from the two outer (separate) edges, I was able to only make two cuts total!  (does that make sense?)


Since my sewing skills haven't improved since the last time I claimed I was going to learn how to sew, I bought 2 rolls of Heat n Bond, a no-sew hem tape.  I ironed in a 1" crease on any side that didn't already have a hem to make sure that the edges were crisp, then I applied the tape.


With the iron on medium heat, I adhered the sticky side.  Once it cooled, I removed the paper backing, folded over the raw edge of the fabric and iron again until the heat penetrated the fabric and the bonding tape.  Once it cooled, I was left with nice, clean edges!  This method is really easy but it was time consuming based on how large the fabric was.

Once the hems were finished, I added a 6" stripe with matte Chocolate colored fabric paint.  First I measured and marked 9" and 15" from the top of curtain lightly with a pencil.  Then I taped and remeasured.  I also taped some newspaper down on my awesome craft table kitchen floor, just in case there was any bleed through (there was).
I started out using just a brush but quickly realized that if I didn't want this to be an all-day project, I'd better get a roller.  I used a 2" foam roller and it was perfect!


Here they are on the window.  (I cleaned up all those Legos just for you, my GUEST!!!)

(Someone should've warned me how difficult it is to photograph windows!)


This entire room is getting an overhaul soon, this is the first step, stay tuned!

Afterthoughts:
  • Based on my window size, I could probably have done these with a smaller canvas but I know I'll have plenty of uses for the remaining fabric, so I didn't mind.  There are so many sizes available - possibly one that's the perfect size for your windows, so that you wouldn't have to hem at all.
  •  Definitely wash the canvas before you use it.  It was dusty but was just fine once it was clean and dry.
  • This project cost less than $40!  (I was fortunate enough to already have the curtain rod and rings, stencil, and fabric paint on hand.)
Pin It

Linking here:
Chic on a Shoestring Decorating Funky Junk's Sat Nite Special Photobucket The DIY Show Off Photobucket
 

Tuesday

Wordle Work - More fun with Subway Art!

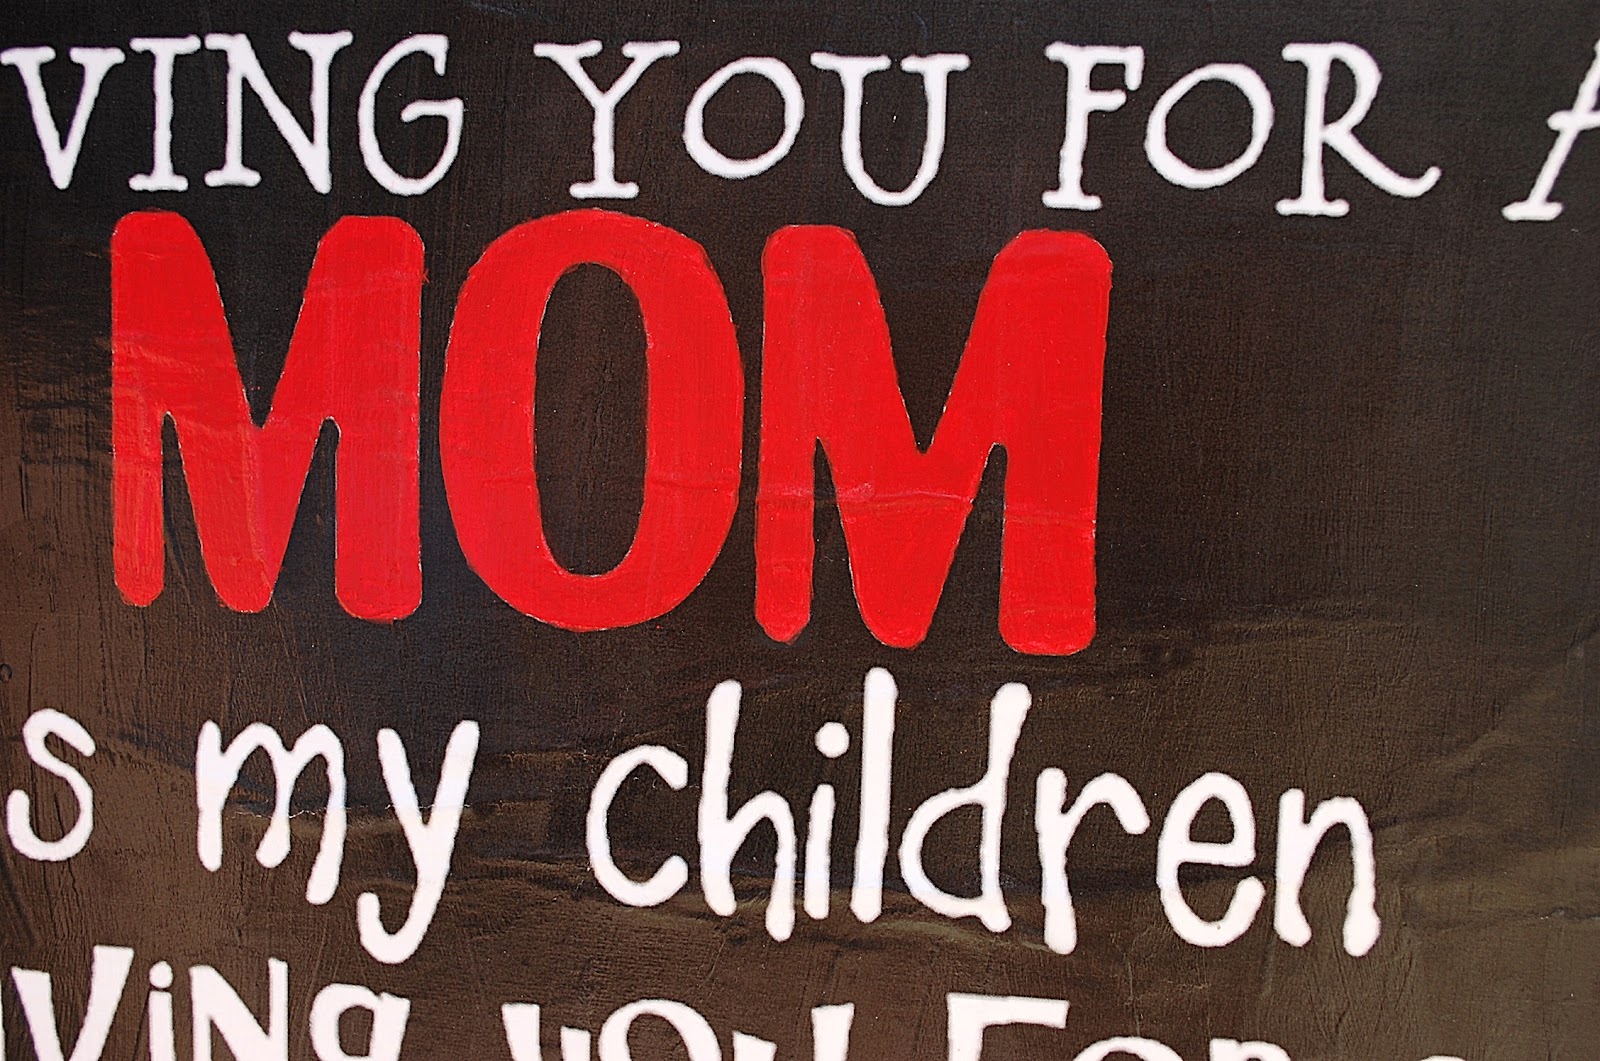
As you can probably imagine, I gave a very personal piece of Subway Art as a Christmas present to one of my family members.  I used a little different technique to create this one and I thought I'd share it here.


 My son's second-grade teacher introduced me to a website called Wordle and I think it's a really fun way to create!  It's basically a free "word image" generator created by some smarty-pants at IBM.  The possibilities are endless - you can decide on color, font, capitalization and make your words horizontal or vertical only or mostly... the list of options goes on and on.

Example: New Year's Resolution, by Anonymous
Source: Wordle

The frequency that you enter each word determines the words size.  In my example (at the top of the page) I wanted Dennis and Jennifer to be the largest words, so I put them in about 15 times each.  Then for the next size down I'd pasted the names 11 times each and so on. I found it helpful to just make tick marks to count and did a lot of copying and pasting.  In the example above, the author clearly used each word the same number of times.

Once you've decided on the font, color, sizes, etc, you can continue to "randomize" the words and until it forms a shape or is in the order that you like.

Here's another example I found today:
Source: Wordle Anonymous

Once you have your design the way you want it, take a screen shot (on my laptop it's function and print screen) and use "paint" or another similar program to save it to, then crop it in Picasa or other editing program.  Based on some copyright issues, you can't just save the document.
It's probably a good idea to read the FAQ's before you get started, just in case.

Then I uploaded my image to the Staples print center.  The print that was large enough to work with a 25 x 30 canvas cost $2.12 (cheap!).  From there I just adhered it to the canvas and glazed and distressed in the typical fashion.  
For the full tutorial on this, click HERE.

Another anonymous example:


Source: Wordle Anonymous

One word of caution: the gallery is public.  So, for example, when I made my nephew's birth sign, I took a screen shot once it was done but chose NOT to save it to the gallery.  The whole world didn't need to know his stats!!

I think all of these would make unique, personal art!  So, go to www.wordle.net and play around then come back and let me know what you've come up with!!

Linking this idea up here:
HookingupwithHoHshabby creek cottage

Sunday

Furniture Love - Girlie Rose Back Chairs


As much as I enjoy being crafty, I realize that I love furniture transformations far more! 

Crafty Cork letter

Crafty Diaper Cake (circa 2007, I thought it was pretty cute back then!)


Mirror before and after
 
SO, I took advantage of some mild weather this weekend to get moving on a few pieces of furniture that have been waiting patiently.
These rose back chairs were inexpensive Craigslist finds, but they were pretty and had potential!


The roses and curvy legs are so feminine, they just were screaming for some pink!


I started off by reupholstering the seats with canvas drop-cloth.  (Yes, I said it, a drop cloth!  It's canvas, it's pretty, it's easy to work with and softer than burlap.  Do NOT share this secret, or the guys at the orange store will just start charging more for it!)
I found this original needlepoint rose fabric under the top layer.


After reupholstering, I added a little color with fabric paint and a stencil.


I brewed up a little homemade chalk paint using the following recipe:
1 1/2 Cups latex paint
1/2 Cup water
1/2 Cup calcium carbonate (ordered online - it's just powdered chalk)
I used an old pasta sauce jar and shook it up really well.  This is the perfect way to paint furniture if you plan to distress it at all.  It covers everything, doesn't require priming and dries really fast!!

Thanks to Sherry at No Minimalist Here for the recipe!

Just for good measure, I used two coats of white paint and then painted the roses with pink craft paint.  The pink originally felt too bright, so I watered down a bit more of the white chalk paint (making it really milky) and painted over the roses.


Once the paint was dry, I distressed lightly, and glazed with Valspar Mocha glaze.  I love the way the carved details stand out!

Notice the little distress mark on the left side?  This same mark is on both chairs.  I think it must be where the chairs were pushed into the table over and over in their former life.  Can you picture it?  Sorry to get sappy, but something about making that connection just fills me up.


Voila!


I'm really pleased with these!  They seem perfect for a girls' room (which doesn't exist in my home!)  What do you think of the transformation?

One more before and after...


I was featured here!!!!!

Photobucket

These pretty girls are partying here:

Home Stories A2ZPhotobucketCreative Kristi DesignsPhotobucketMy Repurposed LifeWith A Shot Of BrandyRedouxThe Shabby NestFunky Junk's Saturday Nite Special

LinkWithin

Related Posts Plugin for WordPress, Blogger...